Wednesday, February 29, 2012

the best way to trim asparagus [what-mom-taught-me wednesday]


rare is the occasion when i cook something without thinking of my mother in one way or another.

with every movement through the kitchen, every stir of the spoon, i hear her voice, telling me what she is doing and why, as a much younger me watches or helps her cook for her husband, eight children, and whatever friends and family might be in the house at that moment.

so.. each week i will try to highlight a lesson whose source i otherwise may have forgotten... things i am grateful my mother taught me about cooking.

what-mom-taught-me wednesday #3: how to trim asparagus - quick, easy, and o-so-satisfying!

you have a bunch or two of asparagus in front of you.

the bottoms are white, tough, and dry... so you need to trim them. 

you could take a knife to the whole pile and slice an inch or two inches or three inches off the bottom... but then you end up taking too much off of some (no, come back, precious green deliciousness!!) and leaving others with tough, woody stalks that your guests now have to either attempt to swallow and choke on or delicately place into their napkins when you aren't looking.

so... that method? no good.

you could take a knife to each individual stalk and cut off the bottom where it starts to look pale and thick and tough, but let's face it- one of the reasons you bought this asparagus is because it cooks up quickly and you just don't have all day! 

my mom saw me doing it this way once, slicing off the bottoms of each individual stalk, and showed me the right path... ready?

simply grasp the tough bottom of the stalk with one hand, and firmly grip the tender green stalk about midway up with your other hand, and bend... snap! the asparagus will break at the exact right spot, right where tough and tender meet.


you will quickly gain a rhythm with this method, and find it both quick, and satisfying, to snap away all that tough no-goodness. the task will be done in no time!

stay tuned (or join this site with the button on the right) to see what i made with this asparagus.. so good!


Tuesday, February 28, 2012

ribena and gerolsteiner sparkling mineral water

in our house, we love seltzer. we recently discovered the gerolsteiner sparkling mineral water at trader joes costs about as much as poland spring seltzer at stop and shop... and gerolsteiner is european, and the bottle is very pretty, so if you like mineral water, it's totally worth the splurge.

we also like to keep a little ribena in the house. it, too, is european (british though, not german) and has been made for over 70 years! i like to add a splash of it to water and seltzer. my husband likes to add the whole recommended two tablespoons... :)
source: http://blog.ribena.co.uk
so, for our splendid valentine's brunch, we served a little pitcher of ribena alongside a bottle of gerolsteiner sparkling mineral water for a refreshing, fruity, morning pick me up.

recipe?

  • pour one glass of seltzer
  • add somehwere between a splash and two tablespoons of ribena
  • stir gently to combine
  • enjoy!

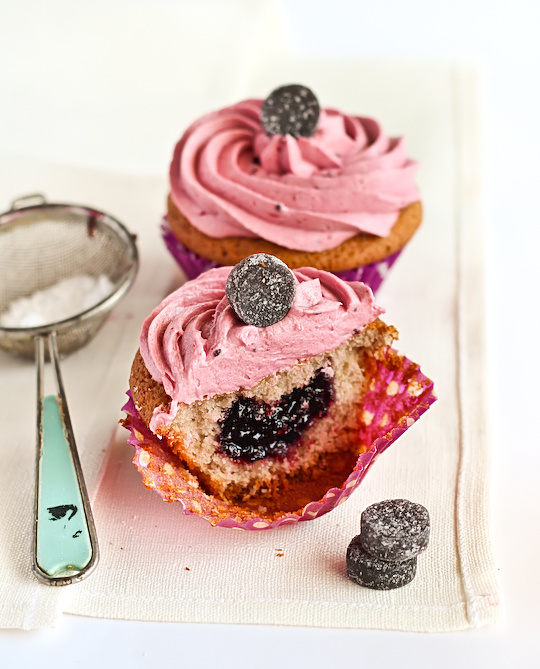
check out these ribena cupcakes!!
source: raspberricupcakes.com

this fruity drink was served with our splendid 
valentines day brunch menu
sparkling mineral water with blackcurrant ribena (you are here)

Saturday, February 25, 2012

oven fried bacon... the easiest way to cook bacon with the best results


really, it's not even worth using any other method. if you like crispy, evenly cooked bacon that requires, hmm, like, no time or attention or scrubbing of pans... oven fried bacon is your man.

but if you like standing over a hot skillet that is spitting hot grease on you and your whole stove and waiting and watching and trying to get your bacons to lie down flat while some parts burn and other parts remain fatty and squishy and unchewable, then, ok, you can make it that way, i did for years until i came across this article in cooks illustrated. and if you keep making it that way, in a pan on the stove or on a griddle, for a long time, you will probably get really good at it and it will be as good as my oven fried bacon method and i will have to bow to your skills. but you still have to scrub a pan (or a griddle. sad face.).

ready to bake some bacon?

STEP ONE
preheat oven to 400 degrees (you can cook the bacon at 375 if you have something else in the oven at the same time that needs to be at that lower temperature, like i did when i made the orange sugar dutch baby, it will just take a bit longer)

STEP TWO
put a cooling rack in a baking sheet (make sure you use the kind with edges)
i wouldn't recommend these oneida baking pans. they are the worst, they warp and pop in the oven and have ruined many a cookie, but someday i will have some really great commercial jelly roll pans like these

STEP THREE
lay your bacon out as evenly and flattaly as possible
this is thick cut bacon from Saugatuck Craft Butchery in Westport, CT. more on that later.

thick cut goodness.

STEP FOUR
bake bacon. rotate pan about halfway through cooking time. depending on how much bacon you are cooking and the thickness of the slices, it should take about 10 to 15 minutes to be finished. you want it nicely browned and glowing with grease. it won't be 'crisp' until it has cooled, so you are going on looks here. (tip, if bacon is cooking unevenly, you may wish to rearrange the slices using a pair of tongs during cooking)
bacon in oven. i got to sneak a peek at my dutch baby.
not ready just yet. see how the fatty bits are still too soft looking?
now it's ready! they just glow!

STEP FIVE
using tongs, transfer the bacon to a plate that has brown paper, paper towels, or even the wax paper used to wrap your bacon (folded inside out) to drain excess grease.

STEP THE-LAST
serve and devour.. 


this bacon was served with our splendid 
valentines day brunch menu
oven fried bacon (you are here)